Easy Gel Polish: The Beginners' Guide
Dreaming of flawless nails that last for weeks? You're in the right place! Discover how to apply gel polish and the best products for every step. We’ll guide you from nail prep and colour application to the final top coat and removal. You'll find everything you need right here—professional results guaranteed!
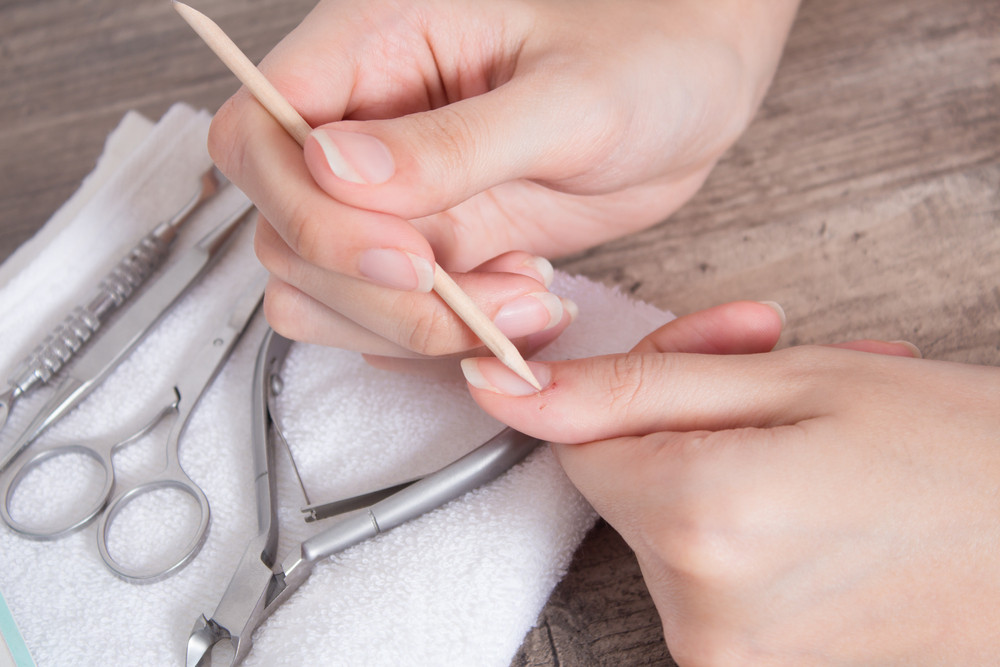
1 - Preparation
Step 1 - Clean the nails: remove any traces of previous products. Starting with a clean, dry nail is key to getting the best results from every step that follows.

Step 2 - Cuticle care: using the appropriate tools, gently push the cuticles towards the base of the nail and gently lift them.
Step 3 - Cuticle trimming: carefully remove any excess cuticles, being careful not to cut too close to avoid small cuts and infections.
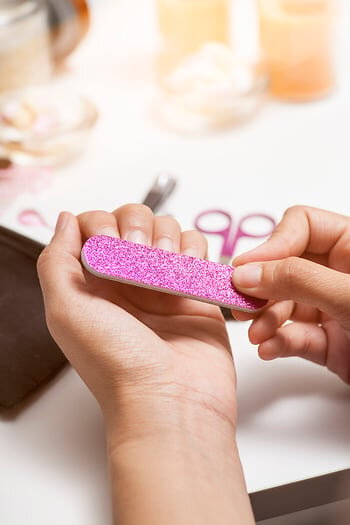
Step 4 - Filing: gently buff the nail surface, filing the free edge to your preferred shape.


Step 5 - Brushing: remove any filing dust and finish with a sanitising spray to leave nails perfectly clean and ready for application.
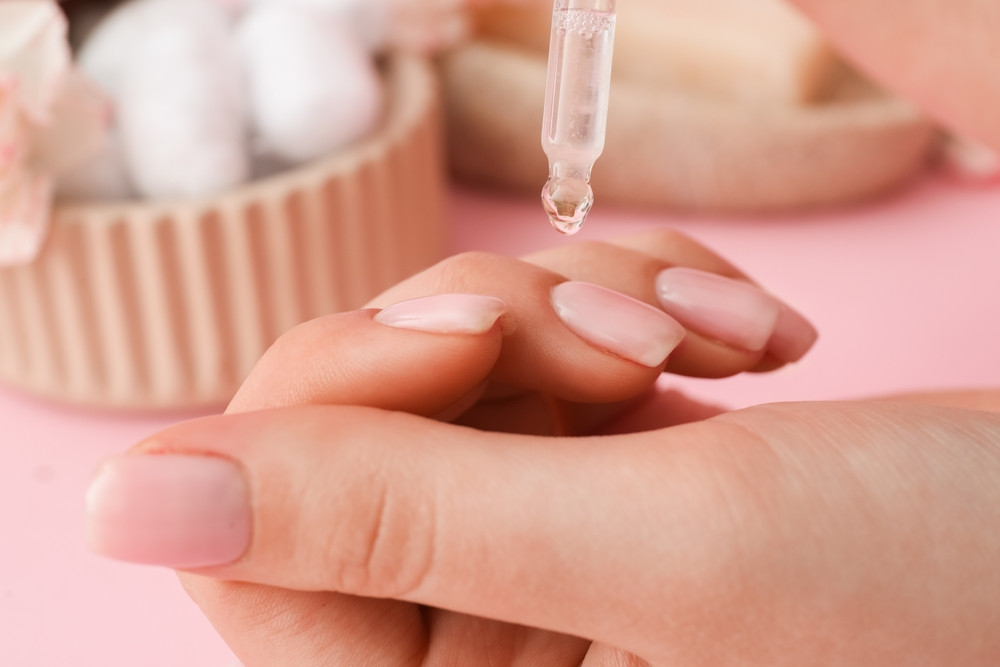
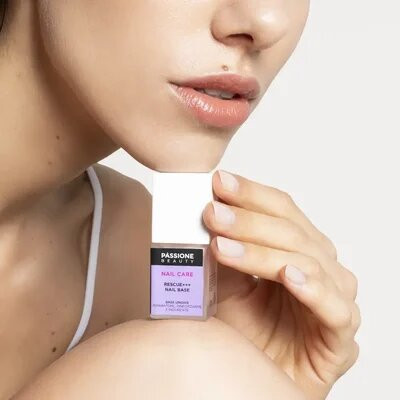
2 - Base
Step 1 - Apply Nail Protector, a preventive treatment that helps keep nails healthy and prevents imperfections such as fungal infections. Always use it before any primers.
Step 2 - Apply Nail Prep to dehydrate the nail surface and maximise gel polish base adhesion.
Step 3 - Apply the binder to help the gel polish bond to the nail. Leave to air-dry for a few seconds.

Step 4 - Choose your base and apply a thin layer over the entire nail, keeping away from the skin and cuticles.


Step 5 - Cure: using a lamp with at least 30 diodes, cure the base following the technical specifications indicated on the product page. After curing, you may notice a sticky layer appearing (known as the dispersion layer). That's completely normal: it will help the colour bond in the next step!
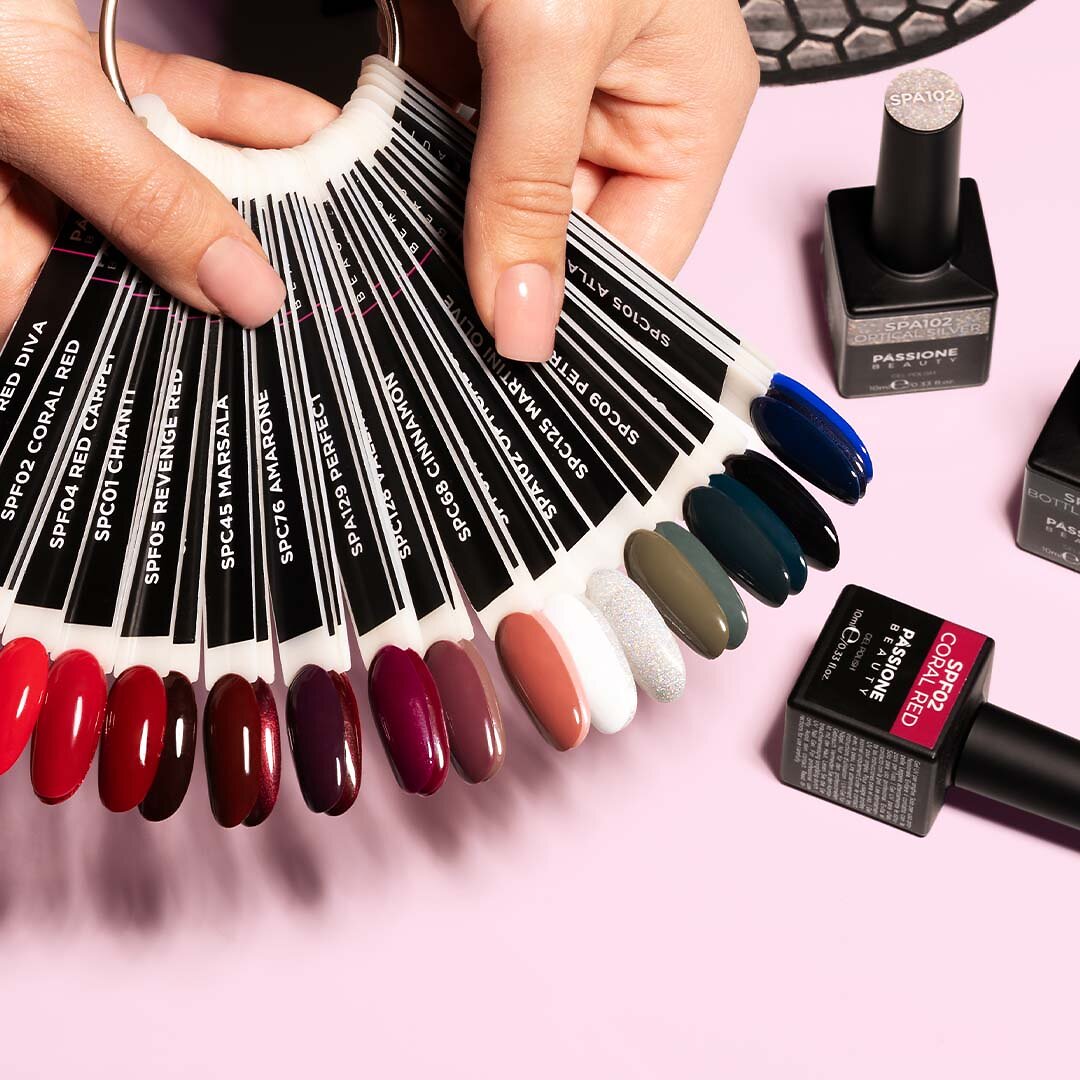
3 - Colour
Step 1 - Pick your favourite gel polish shade


Step 2 - Apply a thin layer of product and cure with the lamp following the technical specifications indicated on the product page.
Step 3 - For fuller coverage, apply a second thin coat and cure again with the lamp.
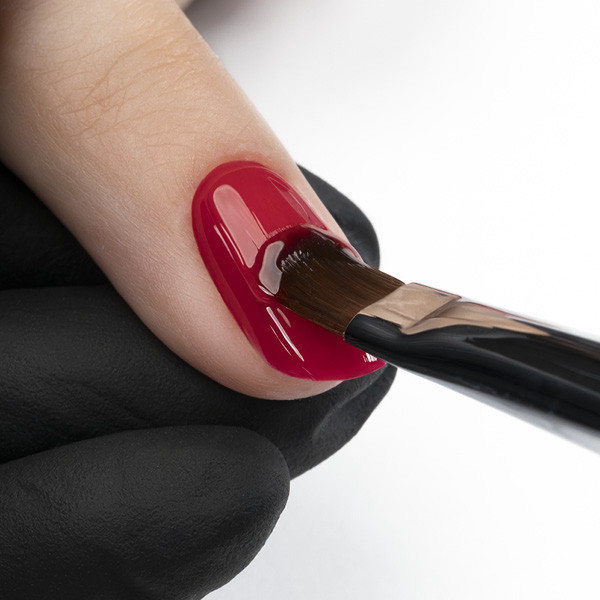
4 - Top coat
Step 1 - Pick your favourite top coat


Step 2 - Apply the top coat in an even layer
Step 3 - Cure following the specifications indicated on the product page. If you've chosen a product with dispersion, remember to use the Cleaner to remove the sticky layer (the dispersion layer that appears after curing).
How to Remove Your Manicure?
Use the buffer to lightly roughen the nail surface so the remover can penetrate effectively.
Step 2 - Pour a generous amount of remover onto a pad and place it on the nail, then secure it with the Remover Clips.
Step 3 - Leave for around ten minutes until the product has fully softened.
Step 4 - Gently scrape away any remaining residue using a Pusher or Cuticle Pusher.