Preparation, Application Acrilgel
Preparation without a nail drill
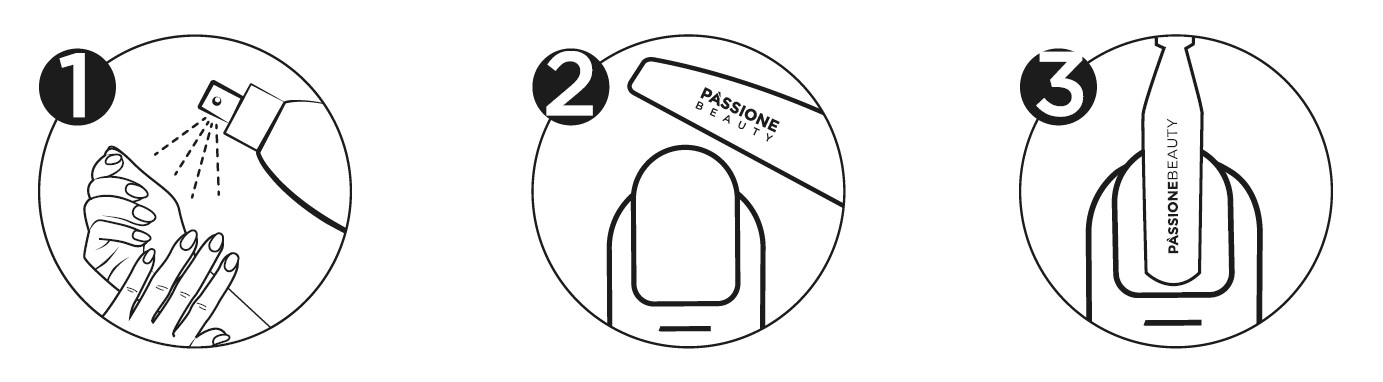
1. Spray Fresh & Pure onto hands and nails and allow to air dry.
2. Trim the free edge of the nail with a file.
3. Gently push back the cuticles.

4. Remove cuticles with nail scissors.
5. Buff the surface of the natural nail using a nail file.
6. Use Nail Brush to remove all dust from the surface.
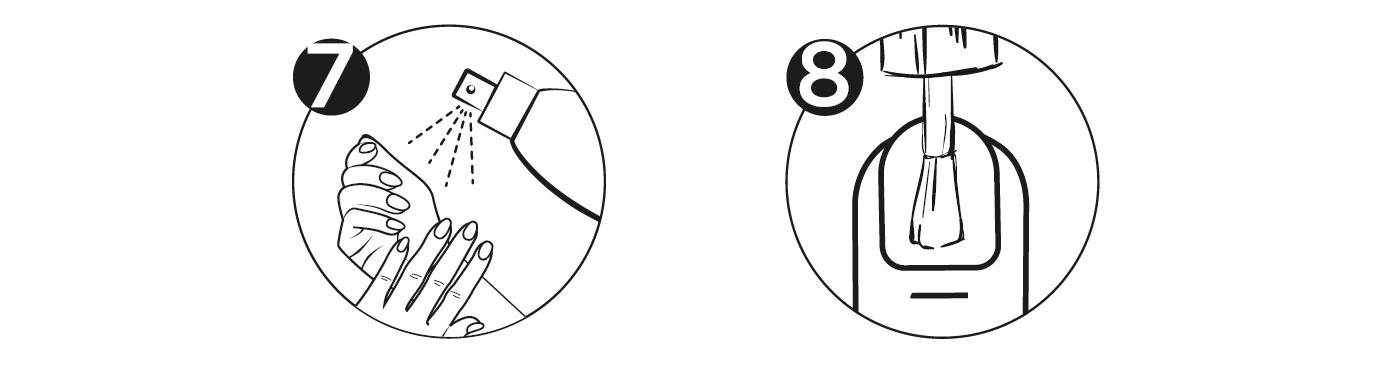
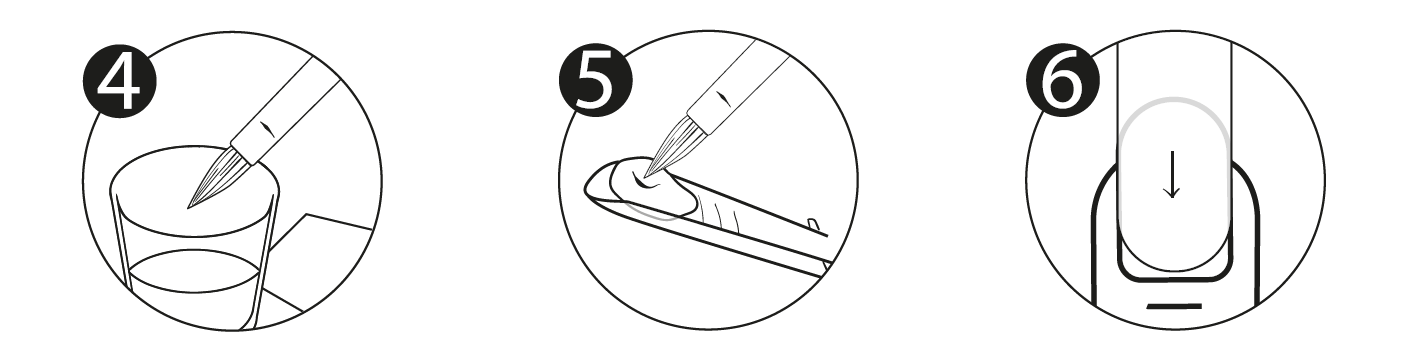
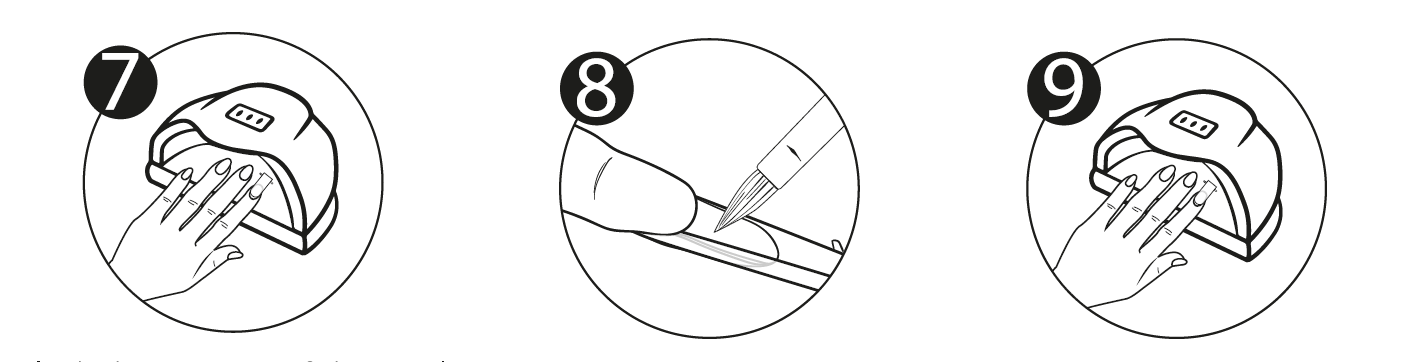
7. Spray Fresh & Pure.
8. Apply the preparatory liquids over the entire surface of the natural nail in the following order: Nail prep and Binder. In the case of difficult nails proceed by adding the Primer after the Nail prep and before the Binder. Allow the preparatory liquids to air dry.
NOTE:
APPLY BINDER AND PRIMER ONLY ON THE NATURAL NAIL, ALSO IN CASE OF AN INFILL
Preparation using a nail drill - Dry Manicure
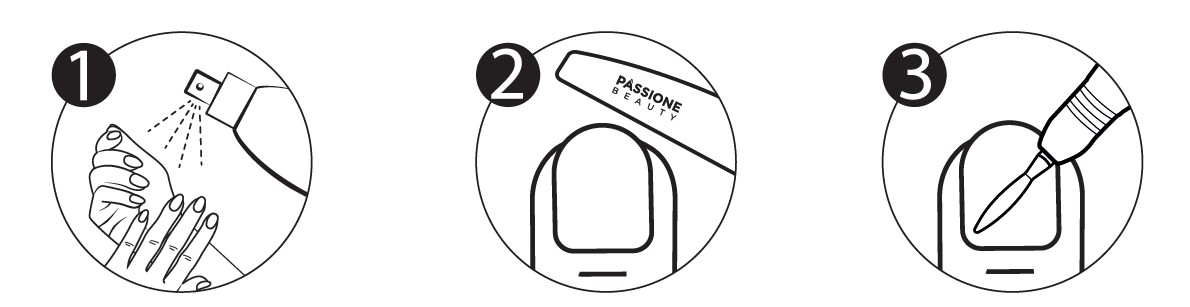
1. Spray Fresh & Pure onto hands and nails and allow to air dry.
2. Trim the free edge of the nail with a file.
3. Use a flame-shaped diamond drill bit such as the Dry Diamond Flame Nail Drill Bit Medium to lift the cuticle from the nail bed.
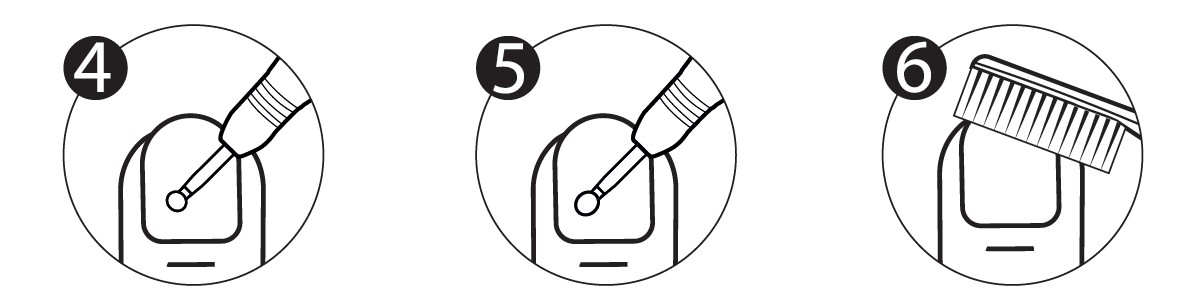
4. After that, use a round diamond drill bit such as the Dry Diamond Ball Nail Drill Bit to remove even the driest of cuticles without using nail scissors and to smooth down any thickening of the skin.
5. Go over the cuticle area to remove any residue, possibly using the Ball Stone Nail Drill Bit pumice stone tip.
6. Use Nail Brush to remove all dust from the surface.

7. Spray Fresh & Pure.
8. Apply the preparatory liquids over the entire surface of the natural nail in the following order: Nail prep and Binder. In the case of difficult nails proceed by adding the Primer after the Nail prep and before the Binder. Allow the preparatory liquids to air dry.
NOTE:
APPLY BINDER AND PRIMER ONLY ON THE NATURAL NAIL, ALSO IN CASE OF AN INFILL
Base application
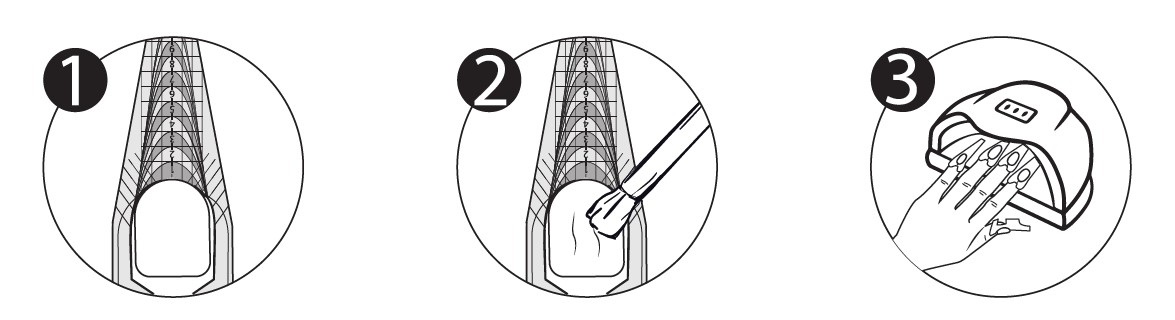
1. Cut out and position the Nail Form so that it matches the shape of the hyponychium leaving no gap between the two. Close the Nail Form according to the shape you want to create, matching the lower wings perfectly.
2. Apply a very thin, even layer of base coat suitable for the application of Acrilgel as indicated on the product sheet. Spread the product on the nail bed with a Trendy Base brush and make sure to apply the base between the natural nail and the nail form in order to secure it.
3. Cure the product for 30 seconds under UV/Led lamp (Futura, SUNUV 5 PLUS or SUNUV 4S) or 120 seconds under UV lamp.
Acrylgel application with Nail Form
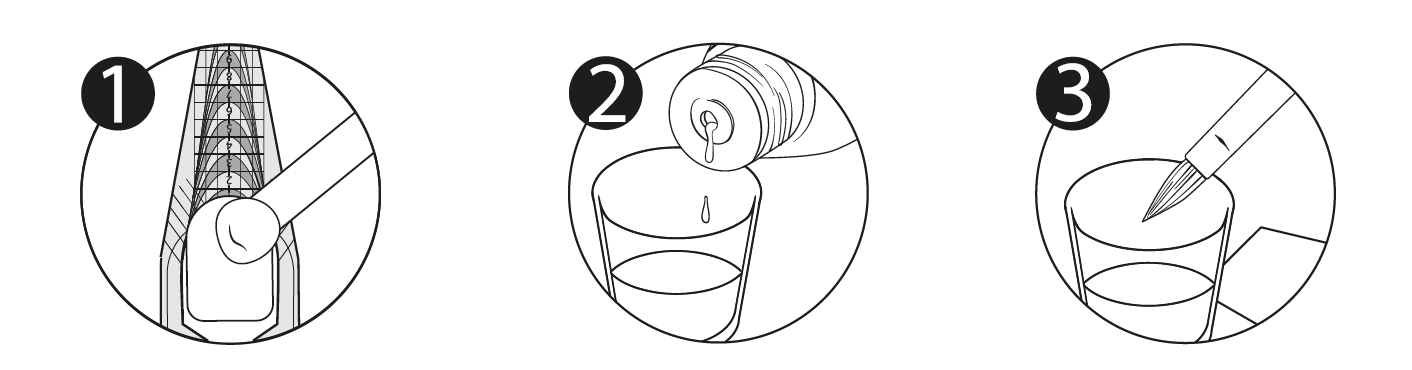
1. Pick up a bead of Acrilgel with a spatula and place it on the Nail Form.
2. Pour a small amount of AcrilGel Solution into the dappen dish.
3. Dip the Acrilgel brush, such as Kolinsky Brush 2 or Brush Spatula, into AcrilGel Solution and drain the excess on a Pad.
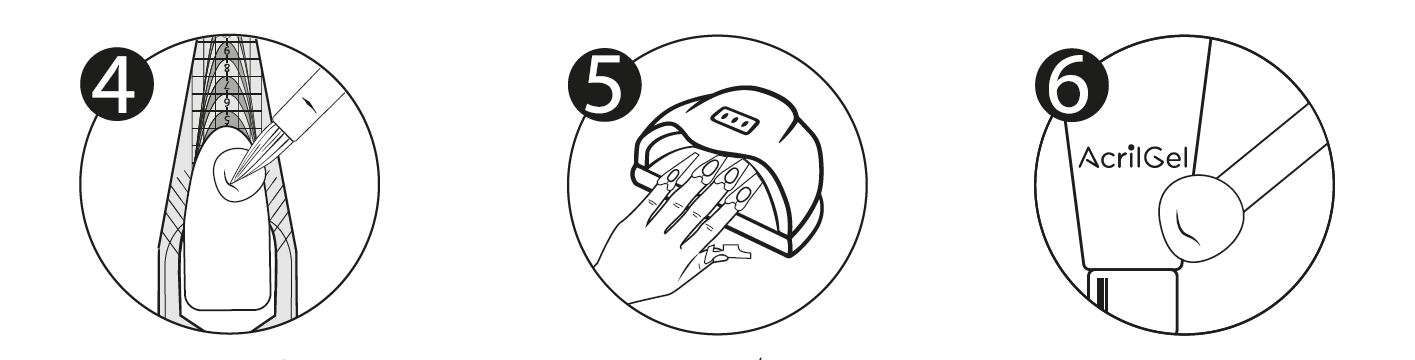
4. Create the extension shaping the pearl with the brush belly to the desired length.
5. Cure under UV/Led lamp according to the times indicated on the label and product sheet.
6. Take a larger bead of product than the previous one.
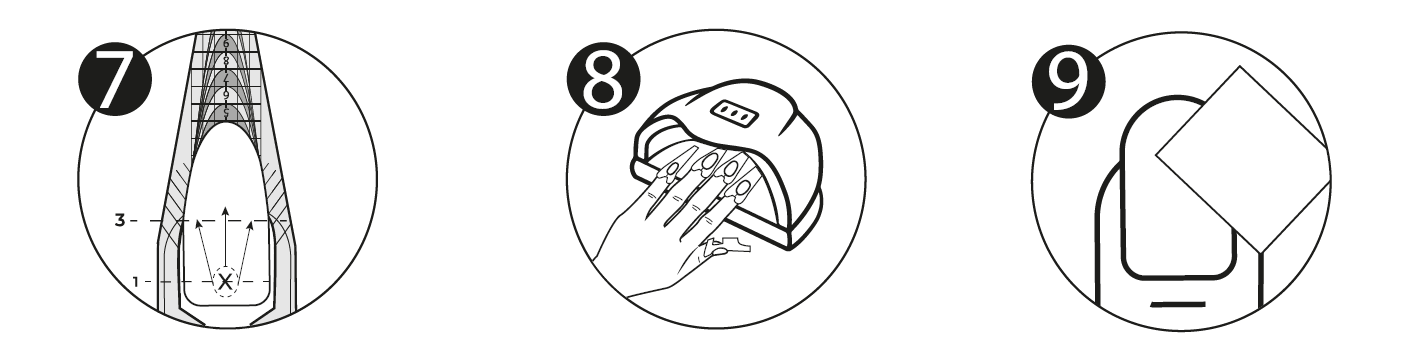
7. Built the apex: place the bead of product at 1/3 of the natural nail, shape it approaching the cuticles, then move the product towards the length, without pulling the apex of the nail.
8. Cure under UV/Led lamp according to the times indicated on the label and product sheet.
9. Vigorously remove the inhibition layer with the Cleaner.
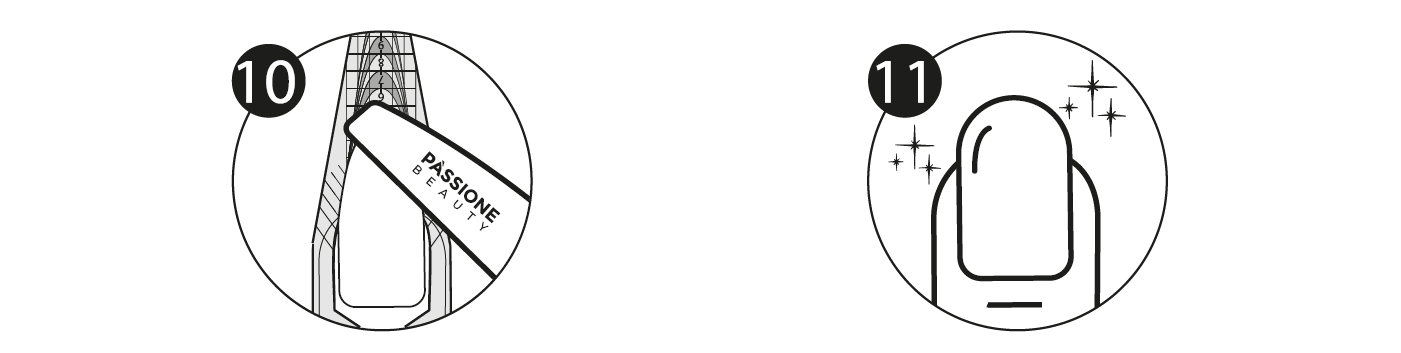
10. File the structure using a precision file. If you prefer to use a nail drill for filing, we recommend a conical, medium-abrasion tungsten carbide bit such as the Carbide Refill Bit.
11. Decorate as desired with gel colour, gel polish or seal.
WHAT NOT TO DO
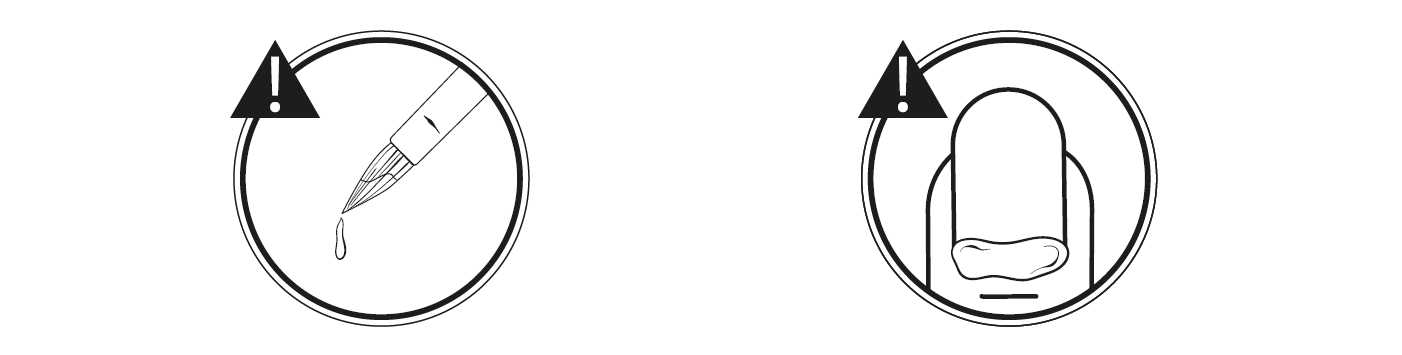
- Soak the brush too much into the Acrilgel Solution
- Applying product on the cuticles
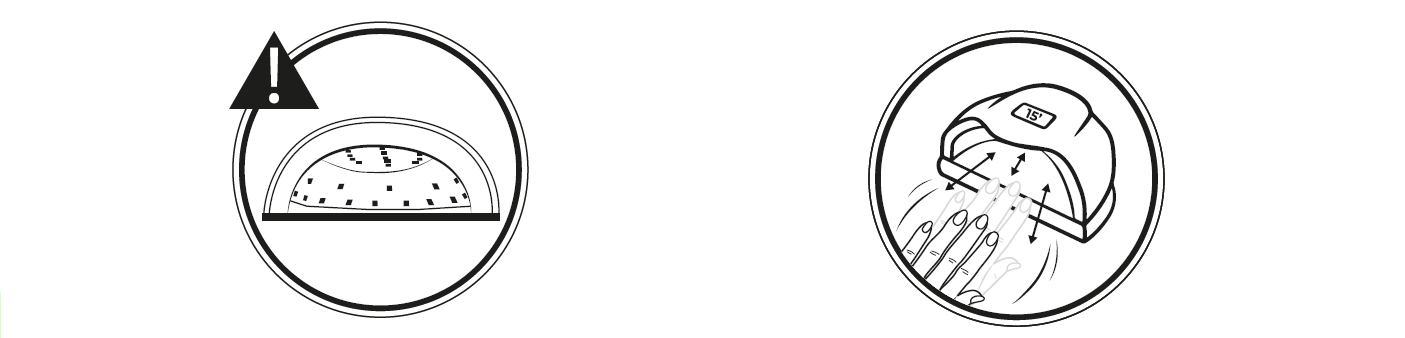
- Using a lamp with inadequate performance (e.g. minimum 30/36 diodes). we recommend Futura, SUNUV 5 PLUS or SUNUV 4S
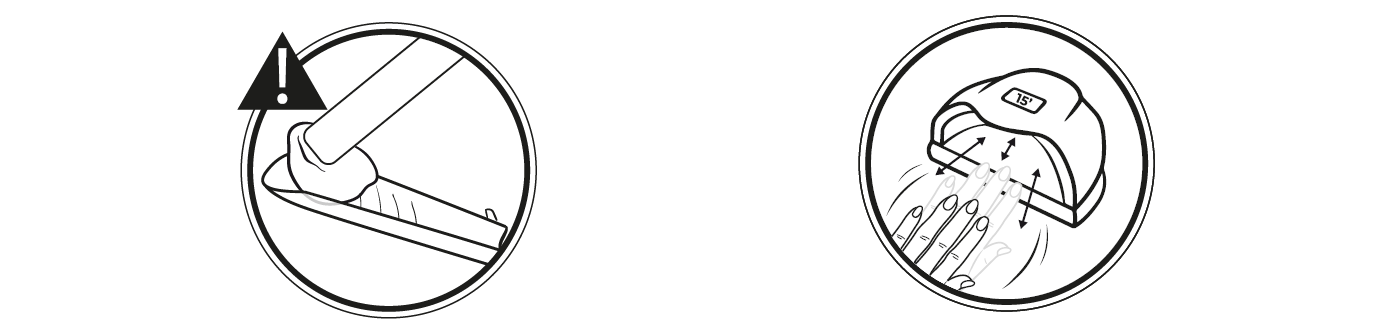
- NOTE: Acrilgel is a product that does not develop heat in lamp, however, if the customer is sensitive and feels a sensation of heat, move your hand in and out of the lamp 10 times during each curing process.
Acrylgel application with dual form
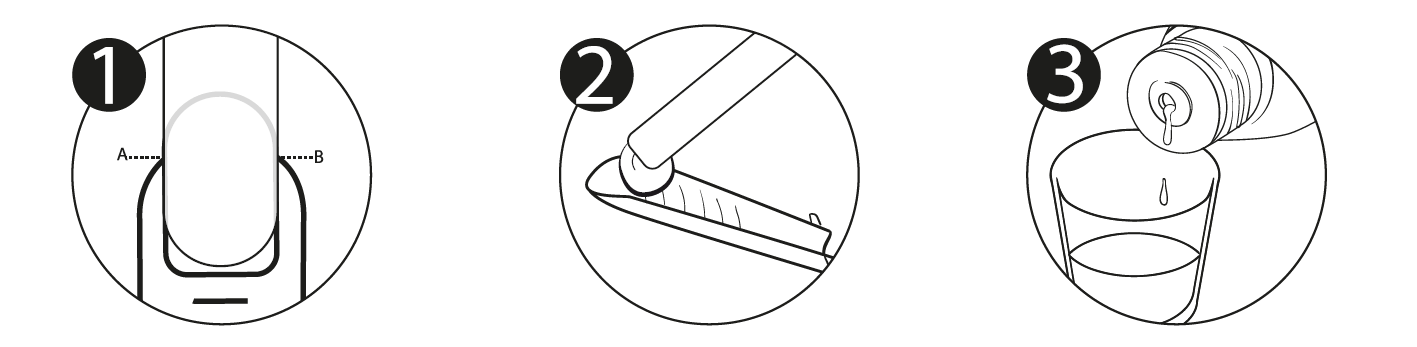
1. Choose the Dual Form of the appropriate size; the Dual Form should cover points A and B.
2. Pick up a bead of Acrilgel with a spatula and place it on the Dual Form.
3. Pour a small amount of AcrilGel Solution into the dappen dish.
4. Dip the Acrilgel brush, such as Kolinsky Brush 2 or Brush Spatula, into AcrilGel Solution and drain the excess on a Pad.
5. Model Acrilgel on the Dual Form.
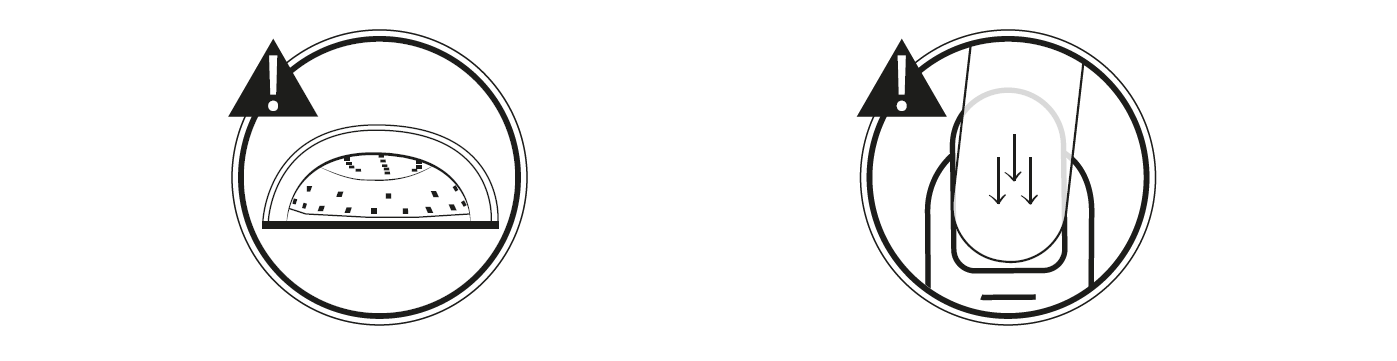
6. Place the Dual Form on the nail surface and press lightly.
7. To lock the position of the Dual Form cure for 10 seconds under a UV/LED lamp.
8. Turn the hand over and distribute the product evenly (in the extension).
9. Complete curing according to the times indicated on the label and product sheet.
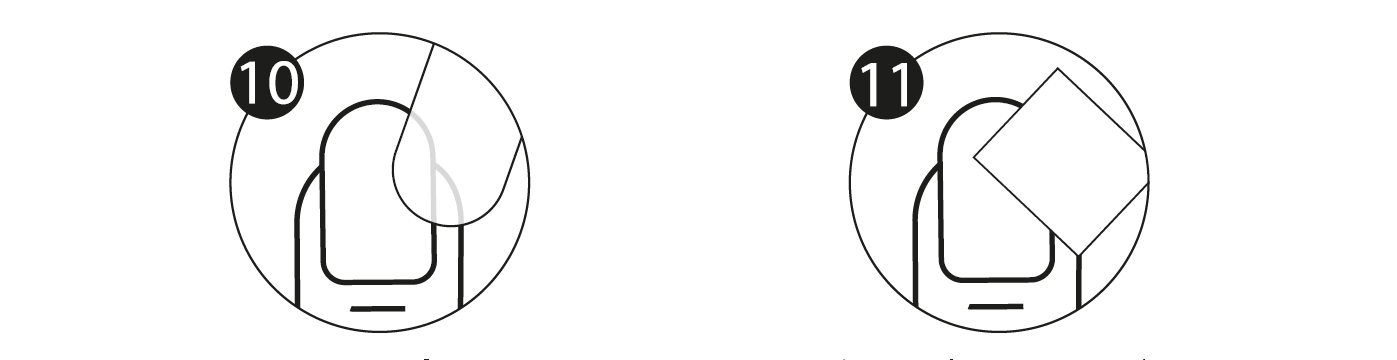
10. Remove Dual Form.
11. Vigorously remove the inhibition layer with the Cleaner.
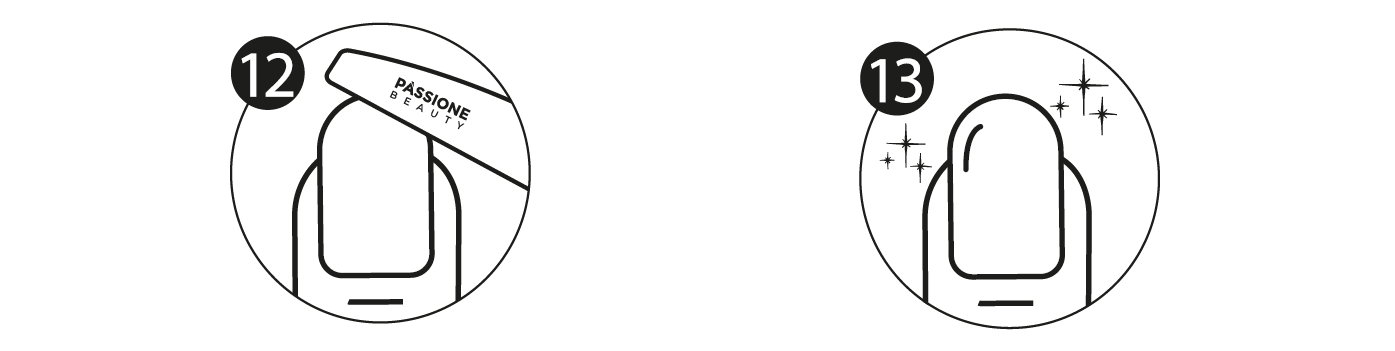
12. File the structure using a precision file. If you prefer to use a nail drill for filing, we recommend a conical, medium-abrasion tungsten carbide bit such as the Carbide Refill Bit
13. Decorate as desired with gel colour, gel polish or seal.
WHAT NOT TO DO
- Soak the brush too much into the Acrilgel Solution
- Applying product on the cuticles
- Using a lamp with inadequate performance (e.g. minimum 30/36 diodes). we recommend Futura, SUNUV 5 PLUS or SUNUV 4S
- Press the Dual Form down excessively: the Dual From must be straight, i.e. on axis with the finger
- Apply too much product on the Dual Form
- NOTE: Acrilgel is a product that does not develop heat in lamp, however, if the customer is sensitive and feels a sensation of heat, move your hand in and out of the lamp 10 times during each curing process.