
Stamper & Scraper XL
- Professional tool for decorations
In stock
Same-day shipping for orders placed before 2 PM
Free shipping for orders over €70
Secure payments
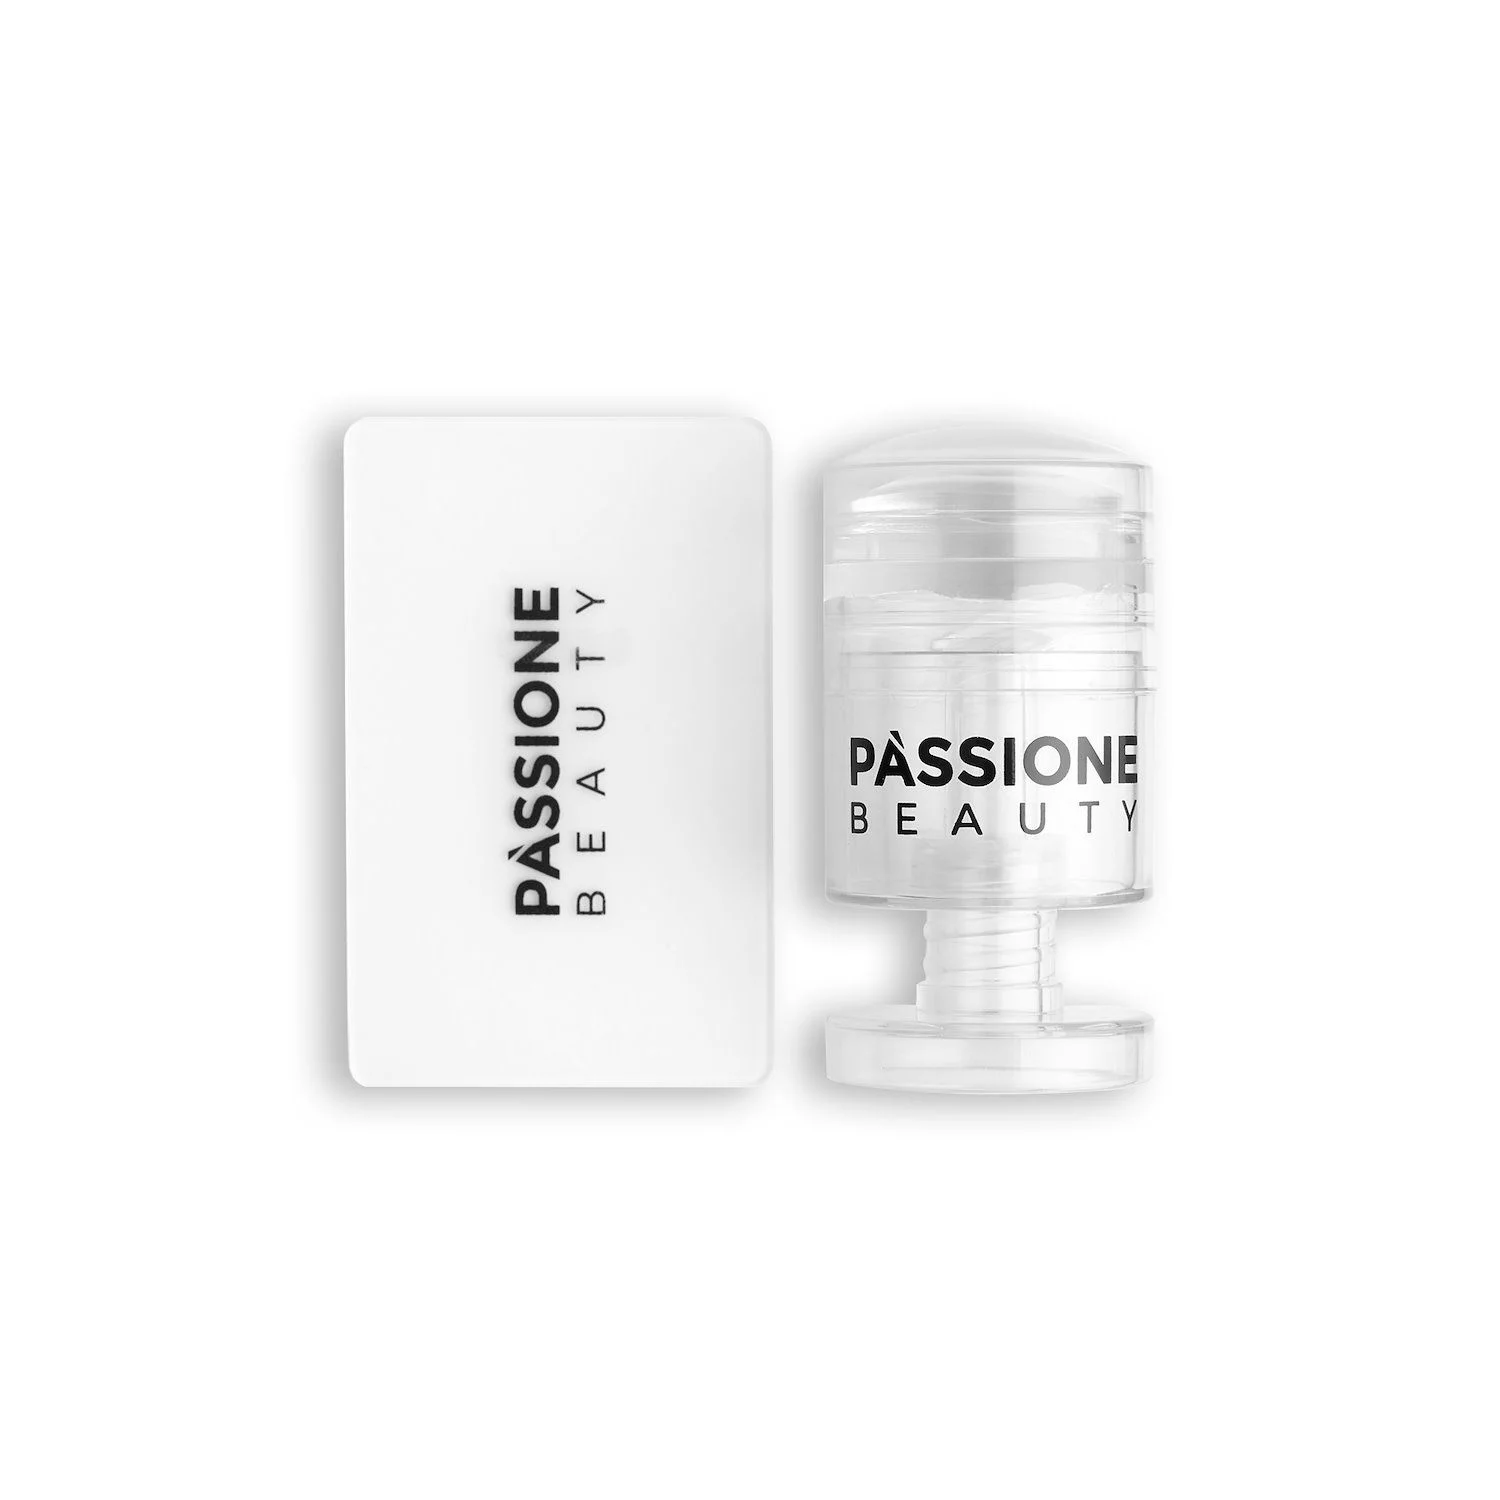
Stamper and Scraper XL for nail art stamping
Professional nail art stamping tool, practical and precise, ideal for transferring any design with perfect results.
Stamper and Scraper XL is a set consisting of two tools used for nail art stamping.
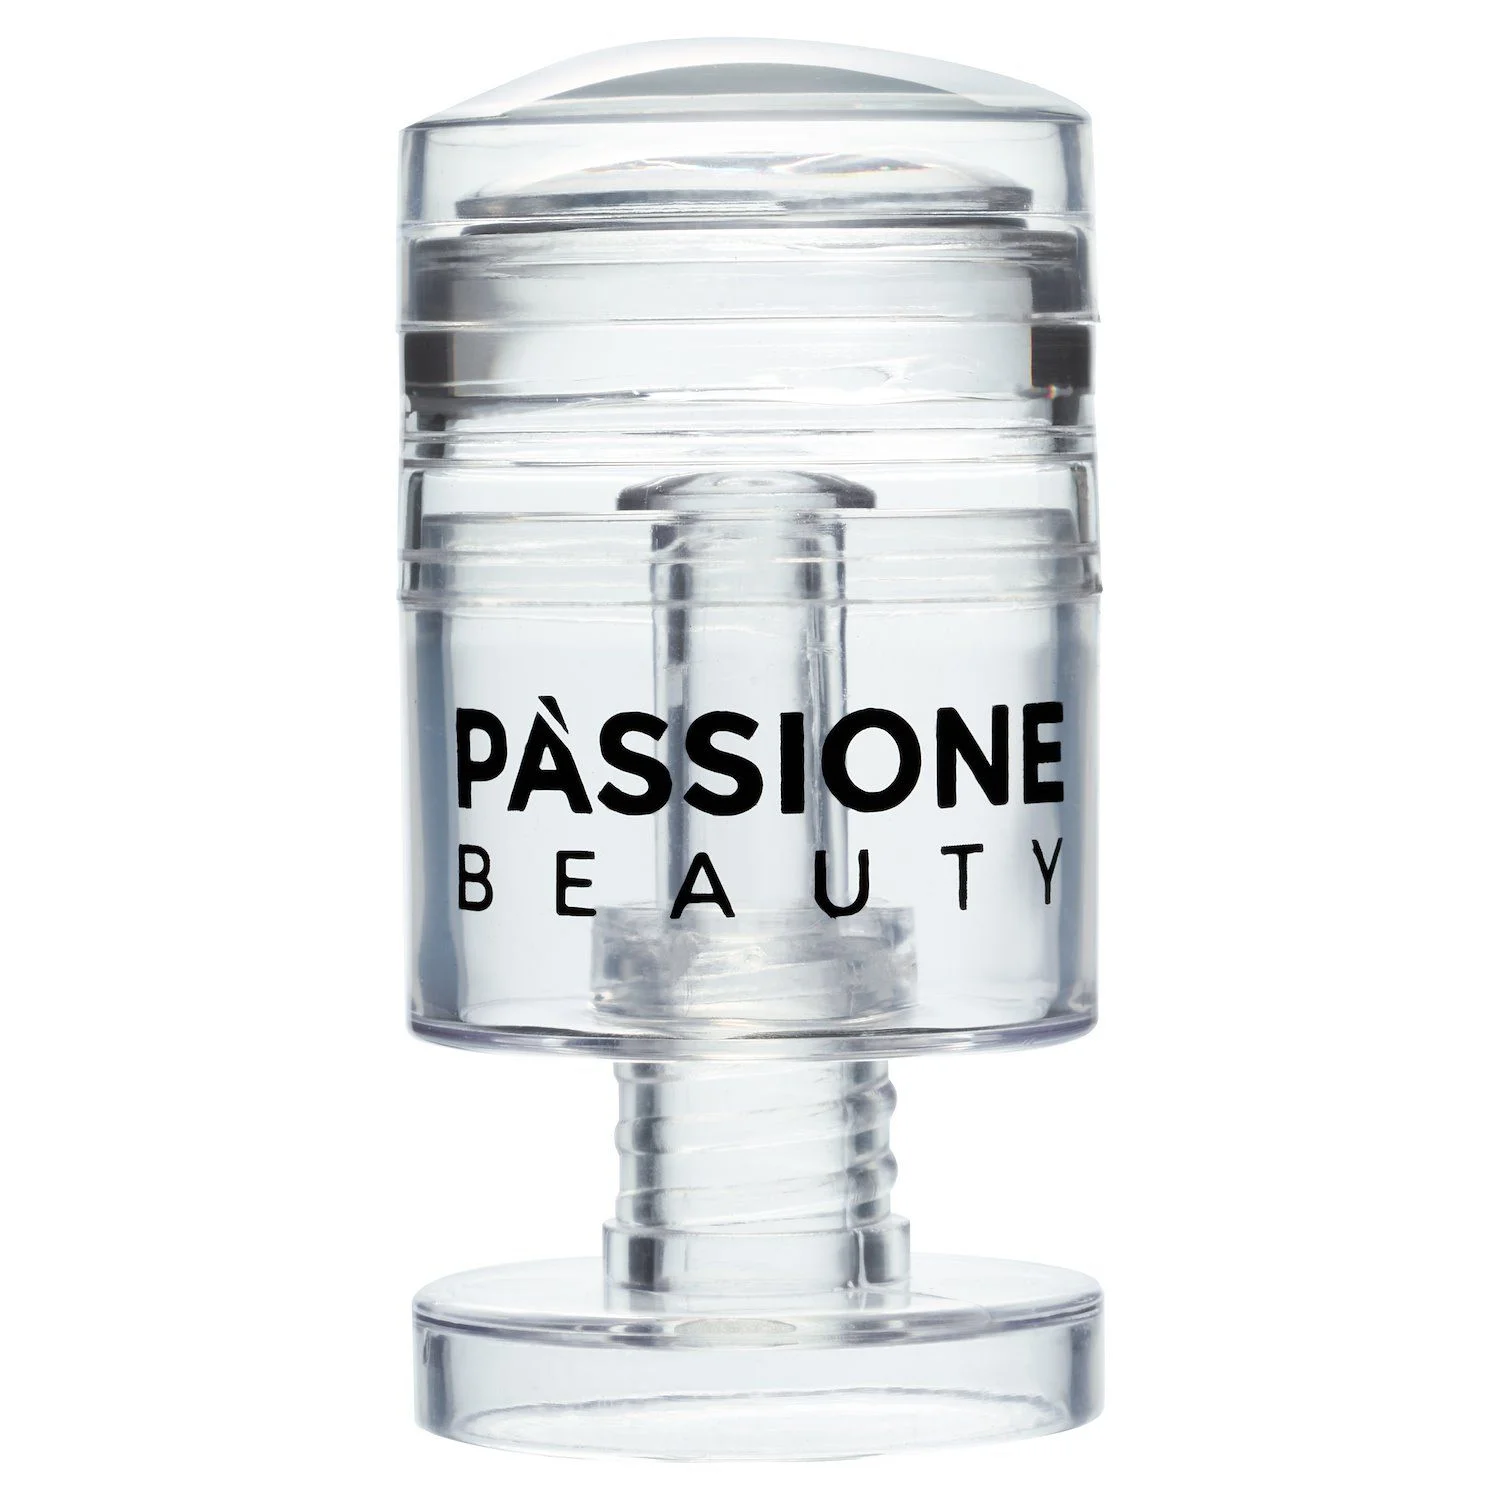
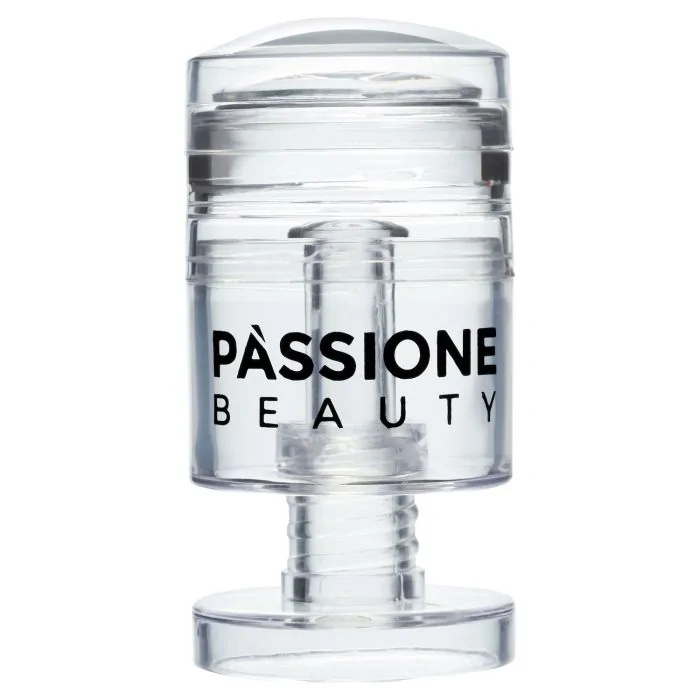
Stamper
The stamper, thanks to its innovative technology, is a revolutionary solution that enables you to shrink the designs of oversized plates, allowing you to adapt each motif to the size of your nails. Whenever a motif is reduced in size, it does not lose quality and sharpness of detail.
With an extra-large surface, our stamper allows you to work with designs of any size, making it ideal for any nail art project.
Scraper
The Scraper is a thin, strong yet flexible scraper, useful for getting the colour into the engraved patterns on the stamping plates. It is also used to remove excess.
Easy to use
With an ergonomic design, our Stamper and Scraper XL is comfortable to use and durable.
Designed to be intuitive and easy to use, it is suitable for both beginners and nail art professionals.
The ability to make designs smaller gives you creative freedom, allowing you to adapt each design to the size of your nails.
Our Stamper and Scraper XL can be used with our UV Painting Gels and is designed to guarantee a precise and super detailed result.
Cleaning
To clean the Stamper you can use the Stamper Cleaning Roll, and clean it in turn with the Stamping Plate Cleaner.
Made of durable and easy-to-clean materials.
Ergonomic and comfortable to use, even for beginners.
Perfect for creating complex nail art in just a few steps.
- Packaging: Paper case
- Material: Plastic, Silicon
- If the color has produced a lot of dispersion, remove it with Cleaner.
- The base color can also be matte and buffered.
2. Choose the design and apply a strip of UV Painting Gel over the engraving.
3. Allow the product to penetrate and remove the excess using the special scraper, positioning it at a 45° angle to the plate.
4. To reduce the size of the design, rotate the lower part of the stamper counterclockwise to make the silicone head curved.
5. Remove the design with the stamper, using a firm and decisive movement from left to right.
6. Remove the upper part of the stamper and print the design on the nail.
7. Using the same movement as in step 4, transfer the design to the surface of the nail.
8. Cure the newly created design (60 seconds in the lamp) UV/LED).
9. Seal with a gloss.
Tips
To achieve a clear design, apply light pressure both when removing the design from the plate and when transferring it to the nail.
Before transferring the design to the nail, place the Stamper in the lamp for a couple of seconds to freeze the design. 1. Apply a colored base coat (either semi-permanent or UV gel), cure, and leave the dispersion film intact.
- If the color has produced a lot of dispersion, remove it with Cleaner.
- The base color can also be matte and buffered.
2. Choose the design and apply a strip of UV Painting Gel over the engraving.
3. Let the product penetrate and remove the excess using the special scraper, positioning it at a 45° angle to the plate.
4. To reduce the size of the design, rotate the lower part of the stamp counterclockwise to make the silicone head curved.
5. Pick up the design with the Stamper, with a firm, decisive movement from left to right.
6. Remove the top of the Stamper and print the design on the nail.
7. Using the same movement as in step 4, transfer the design to the nail surface.
8. Cure the newly created design (60 seconds in a UV/LED lamp).
9. Seal with a gloss.
Tips
To achieve a clear design, apply light pressure both when removing the design from the plate and when transferring it to the nail.
Before transferring the design to the nail surface, place the Stamper in the lamp for a couple of seconds to set the design. 1. Apply a colored base coat (either gel or UV gel), cure, and leave the dispersion film on.
- If the color has produced a lot of dispersion, remove it with Cleaner.
- The base color can also be matte and buffered.
2. Choose the design and apply a strip of UV Painting Gel over the engraving.
3. Let it soak in the product and remove the excess using the scraper, positioning it at a 45° angle to the plate.
4. To reduce the size of the design, rotate the bottom of the stamper counterclockwise to make the silicone head curved.
5. Pick up the design with the stamper, using a firm, decisive motion from left to right.
6. Remove the top of the stamper and print the design on the nail.
7. Using the same motion as in step 4, transfer the design to the nail surface.
8. Cure the newly created design (60 seconds in a UV/LED lamp).
9. Seal with a gloss.
Tips
To obtain a clear design, apply light pressure both when picking up the design from the plate and when transferring it to the nail.
Before transferring the design to the nail surface, place the stamper in the lamp for a couple of seconds to secure the design. 1. Apply a colored base coat (either semi-permanent or (UV gel), cure and do not remove the dispersion.
- If the color has produced a lot of dispersion, remove it with Cleaner.
- The base color can also be matte and buffered.
2. Choose the design and apply a strip of UV Painting Gel over the engraving.
3. Let the product penetrate and remove the excess using the special scraper, positioning it at a 45° angle to the plate.
4. To reduce the size of the design, rotate the lower part of the stamp counterclockwise to make the silicone head curved.
5. Pick up the design with the Stamper, using a firm and decisive movement from left to right.
6. Remove the upper part of the Stamper and print the design on the nail.
7. Using the same movement as in step 4, transfer the design to the surface of the nail.
8. Cure the newly created design (60 seconds in a UV/LED lamp).
9. Seal with a Gloss.
Tips
To achieve a clear design, apply light pressure both when removing the design from the plate and when transferring it to the nail.
Before transferring the design to the nail, place the stamper in the lamp for a couple of seconds to freeze the design.
Made in: China